Design systems are awesome. They're the collection of reusable components, patterns, and guidelines that help teams build consistent products at scale. Tons of dev teams use them to maintain consistency and speed up development.
There's a common problem, however, designers create beautiful mockups in Figma, and then developers have to manually translate those designs into code.
The kicker? Most of the components in those mockups already exist in your design system. So why are we rebuilding them from scratch every time?
This is where Builder.io's Figma to Code plugin with component mapping comes in. I'll walk you through how it works and why it matters.
This post is a accompanying guide to a session from our Builder Labs series. Follow along with the original recording here!
Most Figma-to-code solutions generate fresh code for everything they see. They don't know that the button in your mockup is the same Button component that's already in your codebase.

This means you end up with:
- Duplicate components
- Inconsistent implementations
- Code that doesn't follow your design system patterns
- A lot of manual cleanup work

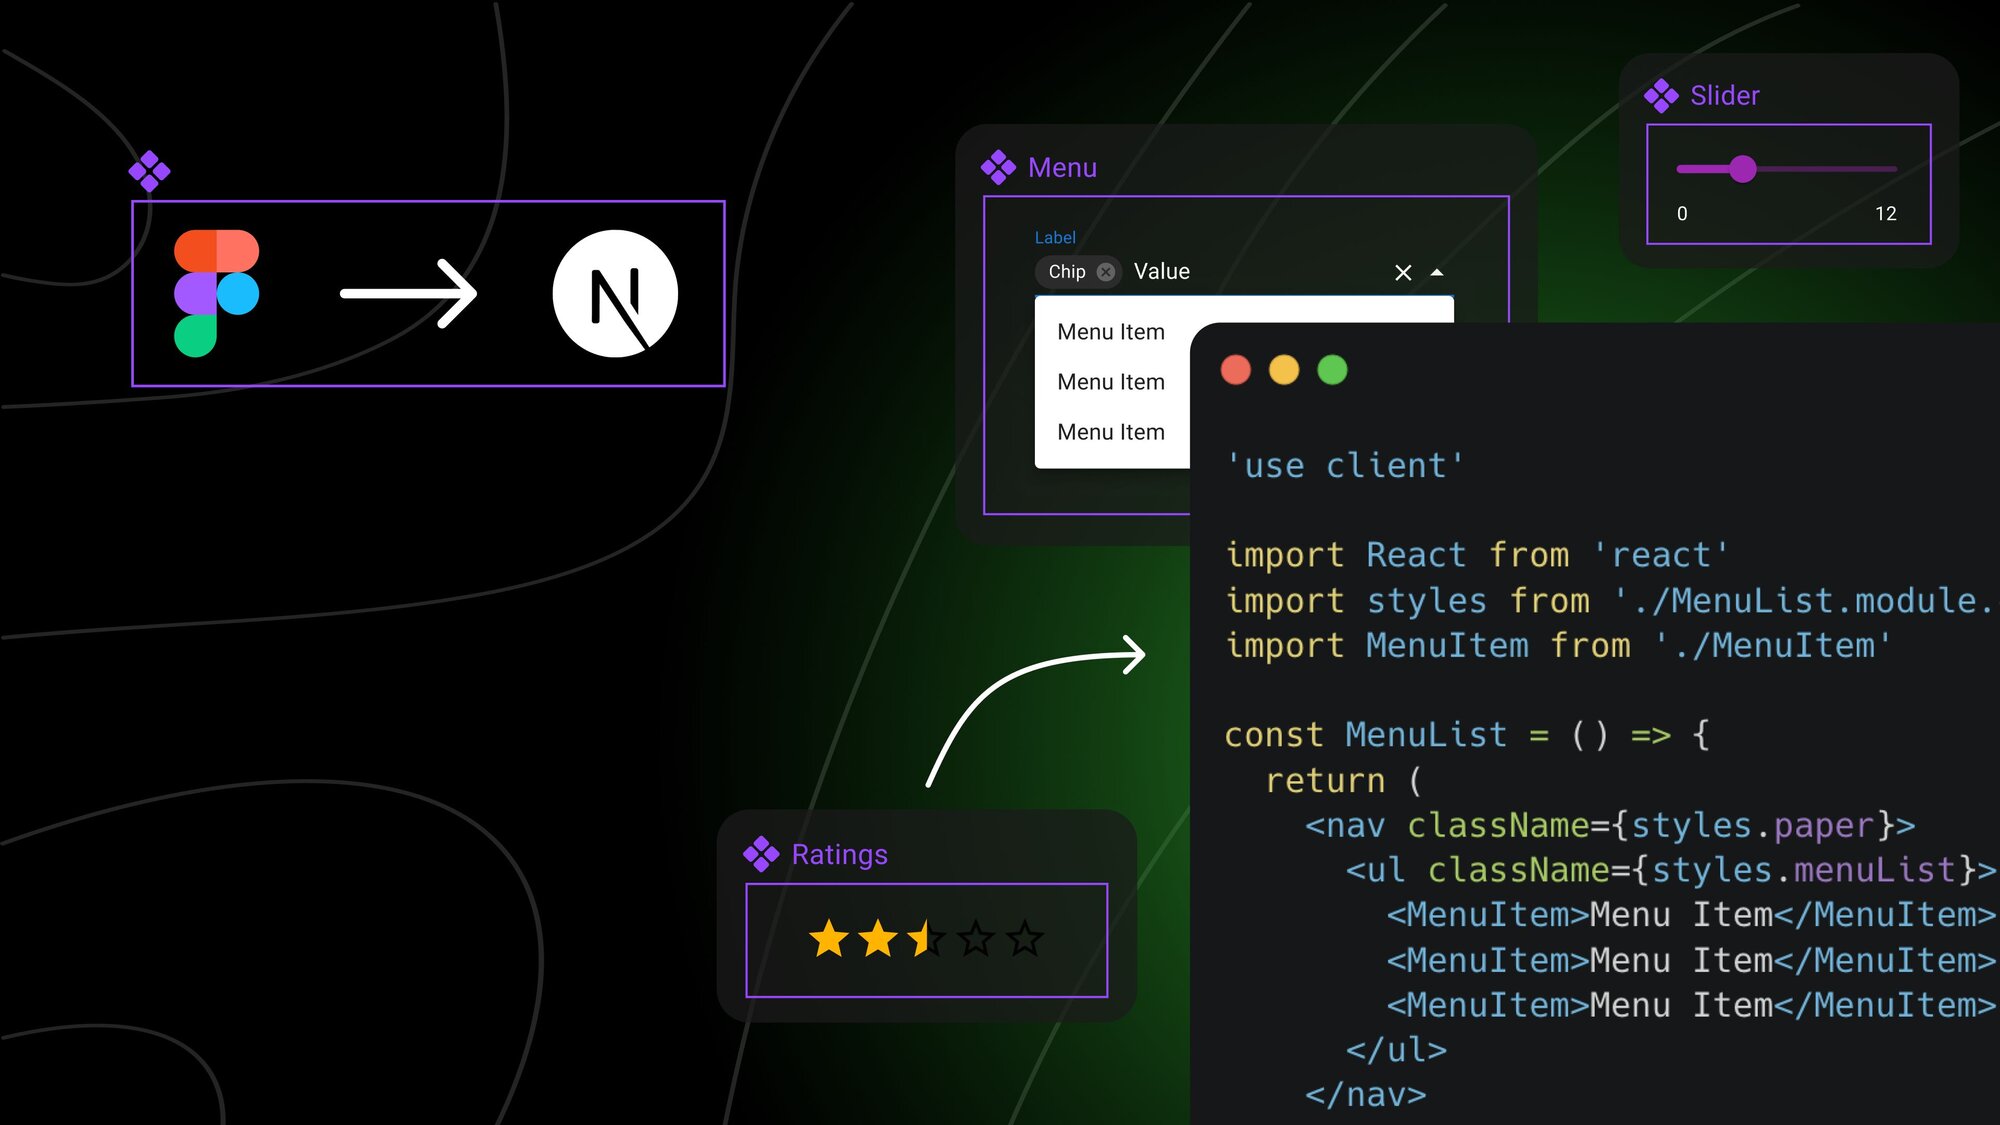
Instead of generating new code, Builder.io's plugin can map Figma components to your existing design system components. It's like teaching the AI, "When you see this button in Figma, use our Button component from our codebase."

This means when you export a design:
- It recognizes your components
- It uses code from your existing design system
- You get output that matches your existing codebase and is ready to use with minimal editing
Let me walk you through a practical example of how this works.

For this demo, I'm using:
- A design in Figma with common UI elements (buttons, text fields, avatars, chips)
- This approach can work with many different frameworks, but for this example I'm using a Next.js project that imports Material UI components
- Builder.io's Figma to Code plugin
The magic happens in "mapper files" that tell Builder how to connect Figma components to your code components.
Here's the simple process:
- Select a component in Figma (like a button)
- Right-click and choose the Builder.io plugin
- Generate a mapper command
- Run that command in your project
- Select which component from your codebase to map it to
- Publish the mapper back to Figma
The CLI helps you through this process, even allowing you to provide documentation links so Builder better understands your component APIs. The more context our AI has, the better it can match your existing design and code.
Each mapper file contains:
- A reference to the Figma component key
- The properties available for that component
- Default values for props
- Logic for translating Figma properties to component props
For example, a button mapper might map the Figma "variant" property to your design system's "variant" prop.
While Builder's AI does a great job generating mapper files, you may want to make adjustments to fine-tune how Figma properties map to your components. Here's how to edit your mapper files:
- Locate your mapper file: After generating a mapper, you'll find it in your project under a directory like
builder/mappers. - Understand the structure: Each mapper file exports a function that defines how Figma properties translate to your component props. Look for sections like:
properties: {
  // This is where Figma properties are defined
},
defaultProps: {
  // Default values for your component
}- Edit property mappings: You can modify how Figma properties map to component props. For example, in the avatar mapper:
/ Map the alt text from Figma to your component
altText: {
  type: 'string',
  default: 'Avatar image'
}- Change default values: If your component needs specific default props, you can adjust them:
defaultProps: {
  variant: 'circular', // Default to circular avatars
  // Other default props
}- Test before publishing: Make your changes and test locally before publishing them back to Figma.
- Publish your changes: Once you're happy with your edits, publish the updated mapper using:
npx @builder.io/figma publishThis process allows you to control exactly how Figma components map to your codebase, especially for more complex components or when you want to add special handling for certain properties.
Remember, you don't have to edit the mapper files manually - the AI-generated ones work well out of the box. But the option is there when you need more precise control.
Once you've created mappers for your components, the magic happens when you export new designs:
- In Figma, select a design element or frame
- Right-click and open the Builder.io plugin
- Under the "Design System" tab, you'll see which components are mapped
- Export to code
- The plugin generates code using your actual components
Instead of generic divs and spans, you get your Material UI Button, TextField, and other components with all the right props set.
If you notice a component that needs adjustments:
- Generate the mapper file using the plugin
- Edit the mapper file in your code editor to fine-tune the property mappings
- Publish your changes back to Figma
There are two main ways to use the output:
- In Builder.io: Paste the generated code into the Builder editor to create visual pages that use your design system
- In your codebase: Generate a React component that uses your design system and paste it directly into your project
This approach creates a tight feedback loop between design and development:
- Designers work in Figma as usual
- Developers map components once
- New designs automatically use your design system
- Everyone stays consistent with brand guidelines
It's especially powerful for teams with established design systems or those using component libraries like Material UI, where you want to leverage what you've already built.

If you want to try this yourself:
- Open the Builder.io Figma plugin
- Connect it to your Builder space
- Start mapping your most commonly used components
- Don't feel pressured to map everything at once—start with core elements like buttons, inputs, and cards
The more components you map, the more powerful the tool becomes, but even mapping just a few key components can save you tons of time.
Component mapping bridges the gap between design and development by connecting your Figma designs to your actual code components. Instead of rebuilding the wheel each time, you're leveraging what you've already built.
It's not just about saving time—it's about maintaining consistency across your applications and making it easier to adhere to your design system guidelines.
Keep in mind that component mapping is an enterprise feature in Builder.io. If you're ready to elevate your design-to-code workflow, you can start an enterprise trial to unlock this powerful capability.
If you're working with a design system (or thinking about creating one), this approach could dramatically streamline your workflow from design to production.
For a complete walkthrough of this process, check out our full Builder Labs webinar where we demonstrate the entire workflow from setup to implementation.
Builder.io visually edits code, uses your design system, and sends pull requests.
Builder.io visually edits code, uses your design system, and sends pull requests.


 Connect a Repo


